Software Installation
Important Note: Version Compatibility Instructions
Before installing the VEX STEPmaker (VSM) software, you need to download and install FreeCAD. Please ensure you verify the version compatibility between the VSM software and FreeCAD as follows:
VSM v1.1.# versions (e.g., v1.1.0, v1.1.1, v1.1.2, etc.): Requires FreeCAD 1.0 or FreeCAD 1.1.
VSM v1.0.# versions (e.g., v1.0.0, v1.0.1, v1.0.2, etc.): Requires FreeCAD 0.21.
The following installation guide will use VSM v1.1.0 and FreeCAD 1.0 as examples. If you need to install other versions, please select and download the appropriate software based on the instructions above.
1. VSM v1.1.0 Installation Guide for Windows
1.1 Download and Install FreeCAD 1.0.0
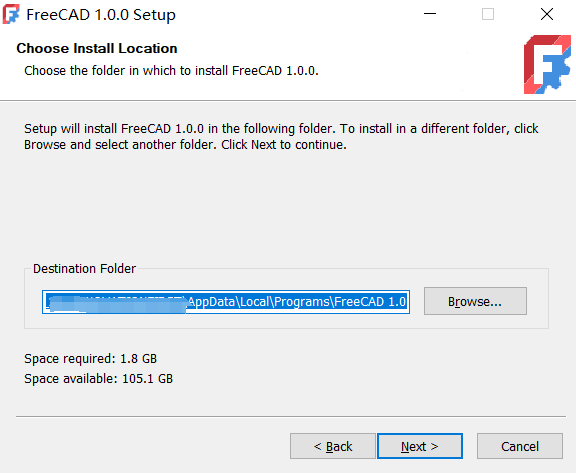
① Download and install FreeCAD 1.0.0. Ensure that the FreeCAD folder is located under C:\Program Files\FreeCAD 1.0.
(If it is not in this path, you will need to manually update the FreeCAD path in VEX STEPmaker. Click here for instructions.)。

1.2 Download the Installer
① Download VEX STEPmaker.

1.3 Install VEX STEPmaker
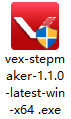
① Select the VEX STEPmaker installer icon to begin installation.
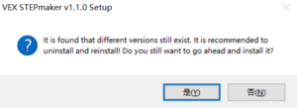
② If an older version of VEX STEPmaker is present on your computer, the installer will first uninstall it. Select “Yes” to proceed.
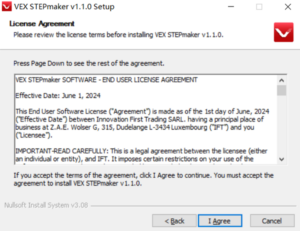
③ The license agreement will appear. After reading, select “I Agree”.
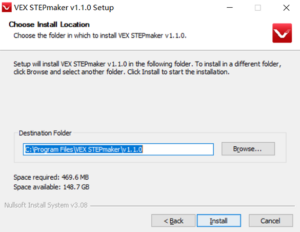
④ You may choose the installation path or keep the default path, then click “Install”.
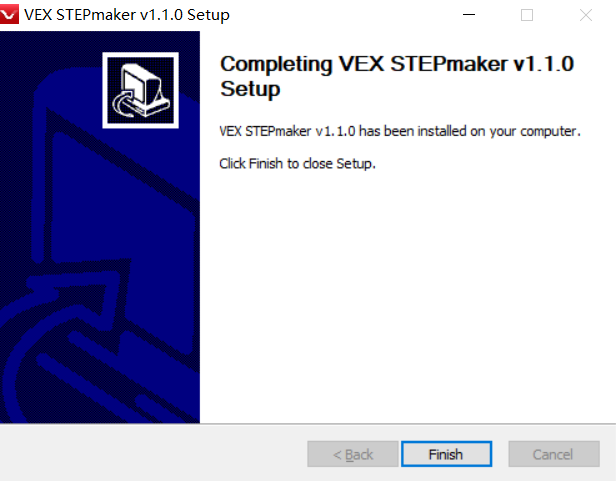
⑤ Wait for the installation to complete, then select “Finish”.
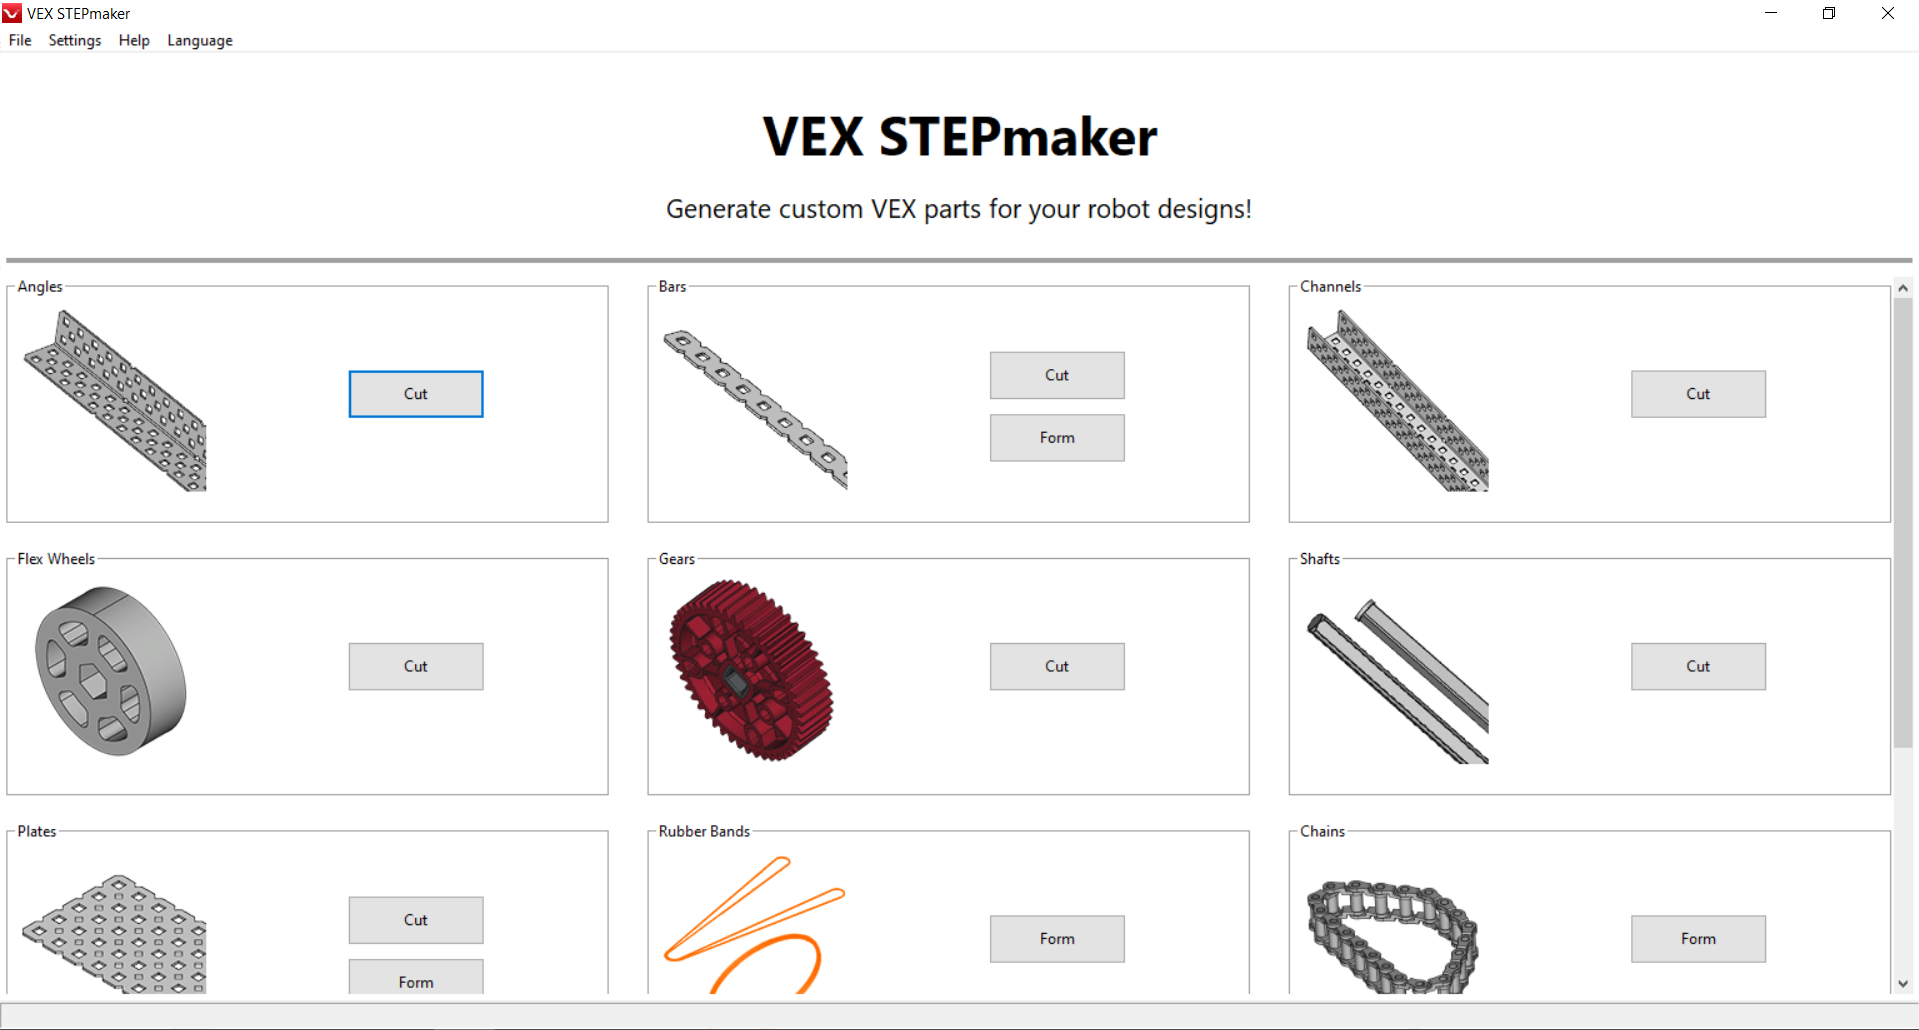
⑥ Launch VEX STEPmaker using the desktop shortcut.

1.4 Verify FreeCAD Path Configuration in VEX STEPmaker
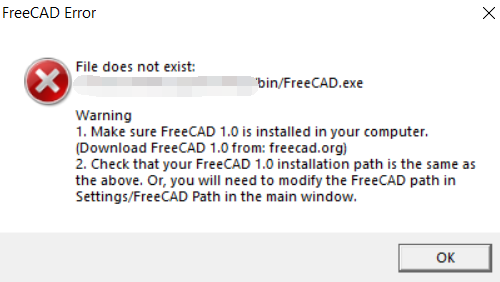
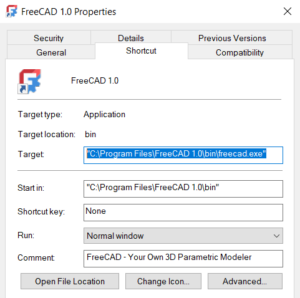
① If your FreeCAD installation path differs from the default location (C:\Program Files\FreeCAD 1.0), you will encounter the error shown in the diagram.
② Locate your FreeCAD installation path:
If FreeCAD is already installed, you can find the installation path by right-clicking the FreeCAD application and checking its properties.
Typical installation paths are:
a. “C:\Program Files\FreeCAD 1.0”
b. “C:\Users\xxxx\AppData\Local\Programs\FreeCAD 1.0”
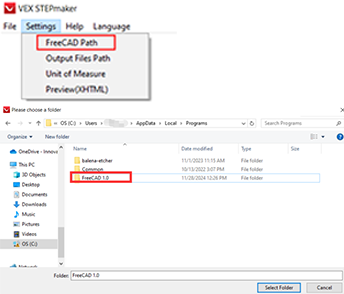
③ Select the menu bar: “Settings” -> “FreeCAD Path”.
Then select the FreeCAD installation path you recorded in the previous step.
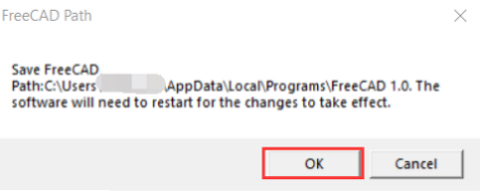
④ You will be prompted to update the FreeCAD path and restart the software.
2. VSM v1.1.0 Installation Guide for macOS Systems
To install VEX STEPmaker and FreeCAD on your Mac computer, first identify and download the appropriate installer for your system. Follow these steps to determine the correct installer and successfully install VEX STEPmaker and FreeCAD on your macOS device.
2.1 Download and Install FreeCAD 1.0.0
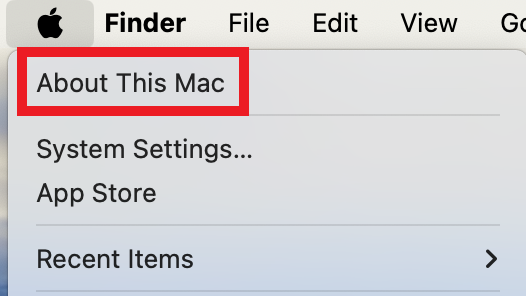
① On your Mac, click the Apple icon in the top-left corner.

② 从From the dropdown menu, select About This Mac.
③ If your computer has an Intel processor, download the Intel installer.
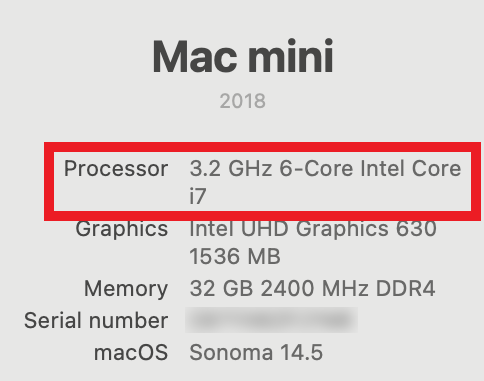
④ If your computer has an Apple chip, download the Apple Silicon installer.

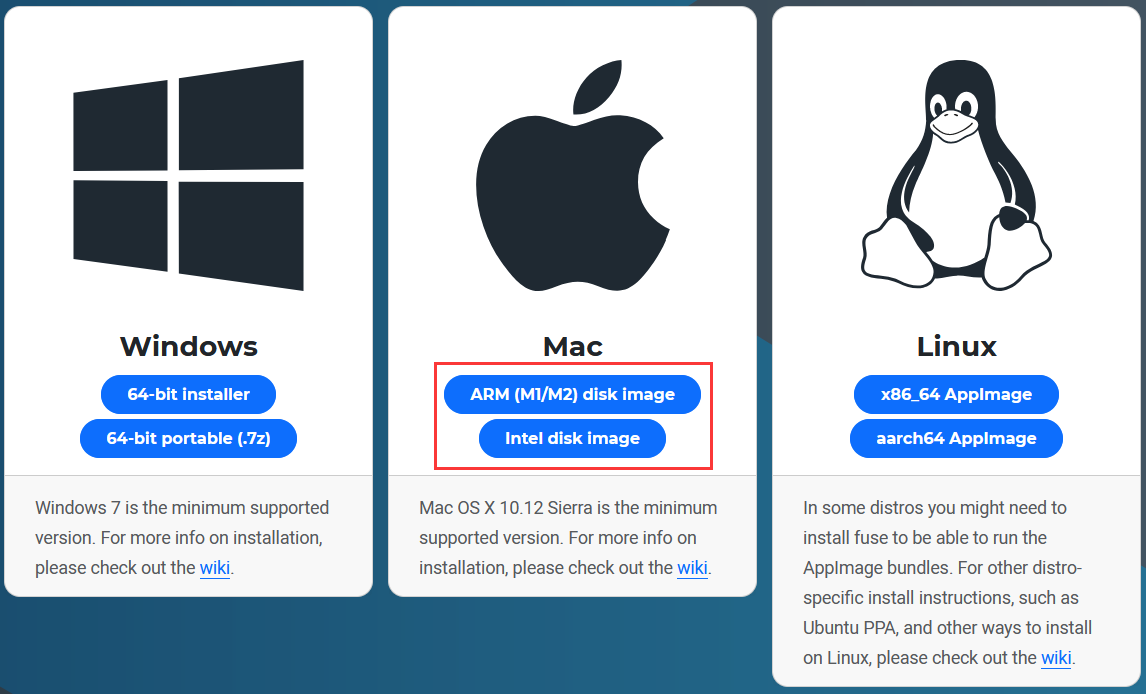
⑤ Download and install FreeCAD 1.0.0 .
For Intel processors, select “Download for Mac (Intel)”.
For Apple Silicon, select “Download for Mac (Apple Silicon)”.
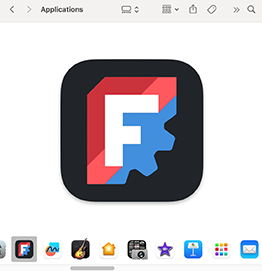
⑥ Ensure the software is installed in the Applications folder.
2.2 Download the Installer
① Go to VEX STEPmaker.
For Intel processors, select “Download Beta for Mac (Intel)”
For Apple Silicon, select “Download Beta for Mac (Apple Silicon)”

2.3 Install VEX STEPmaker
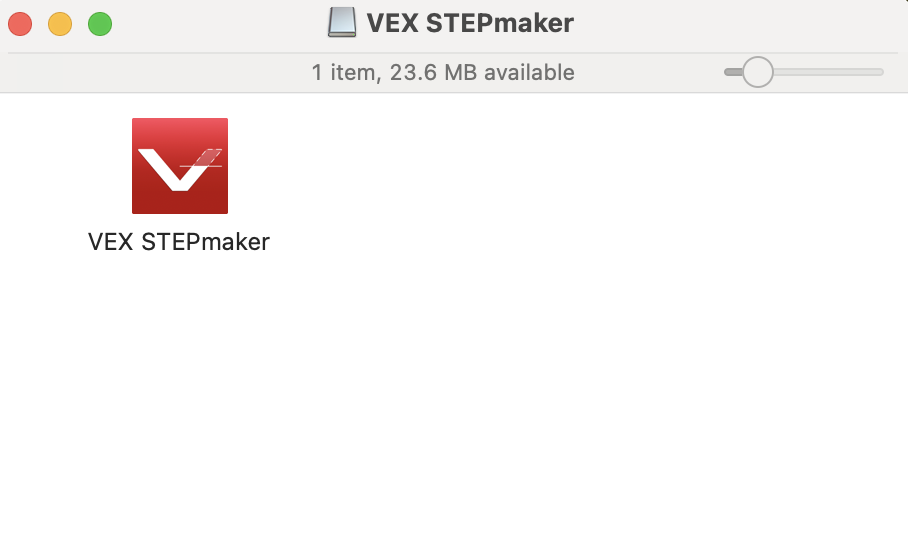
① After downloading the correct installer for your Mac, double-click the package to launch installation.

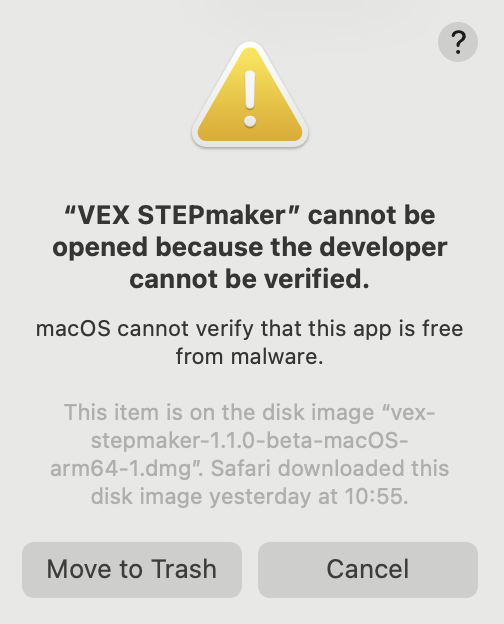
② Run the installer.
③ When prompted, select “Cancel”.
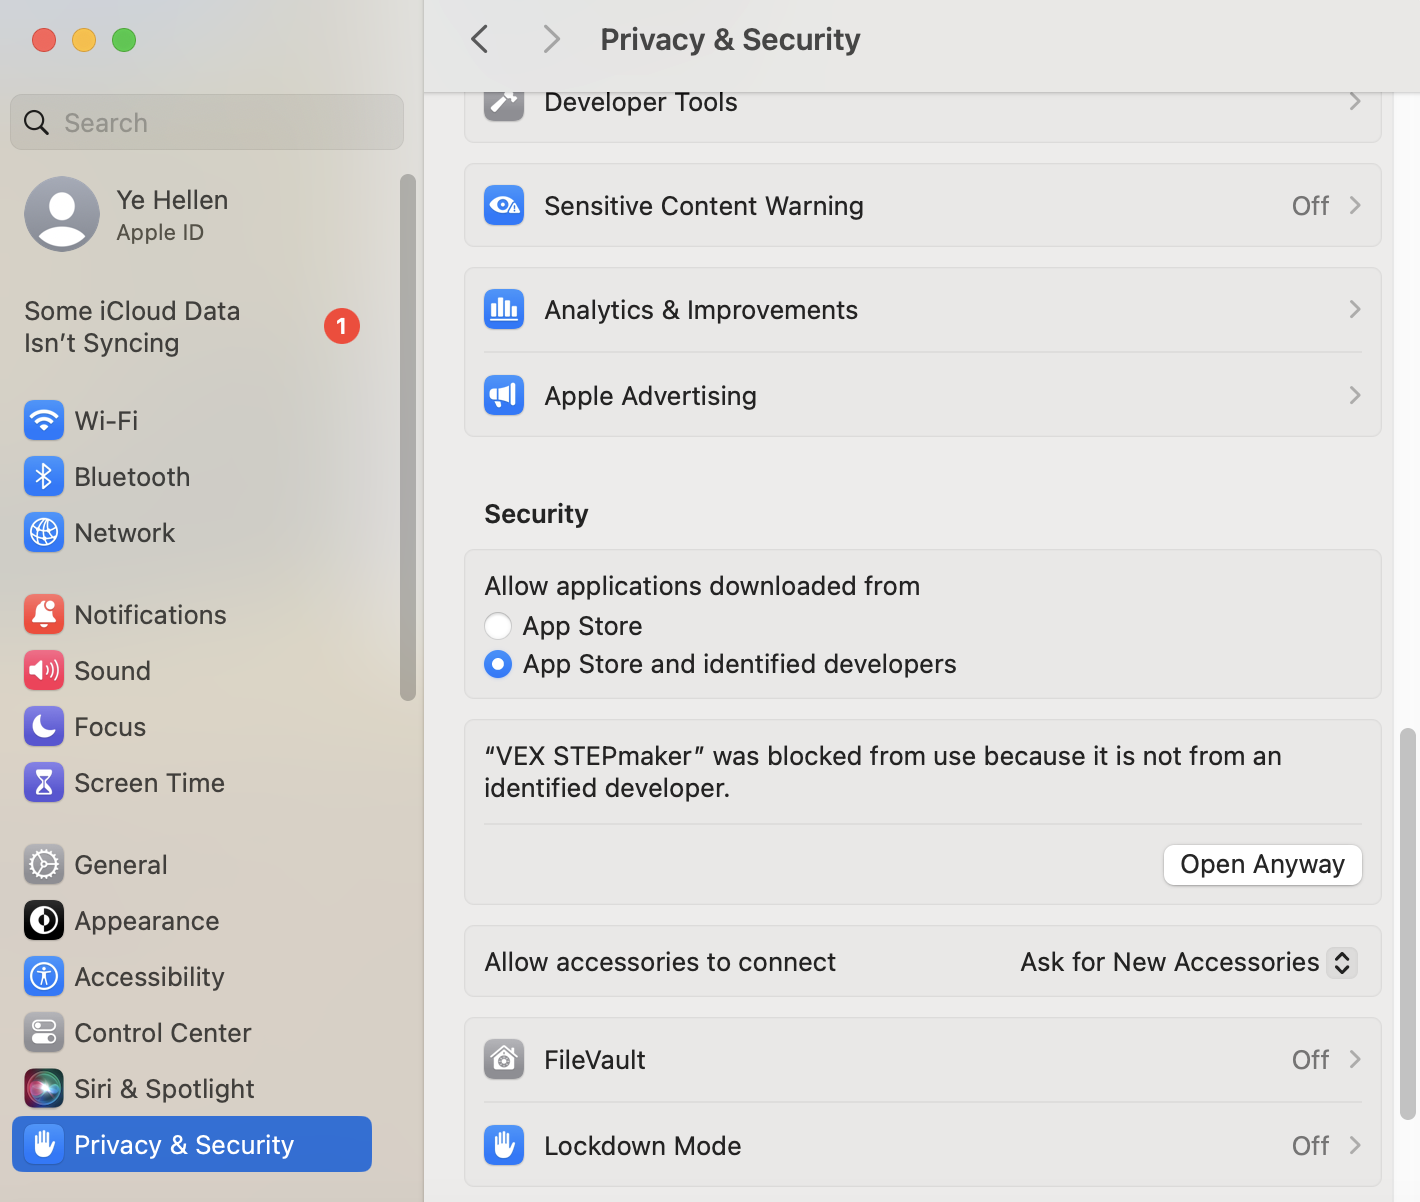
④ In the security warning pop-up, choose “Open Anyway”.
⑤ Run the software again and select “Open” when prompted.
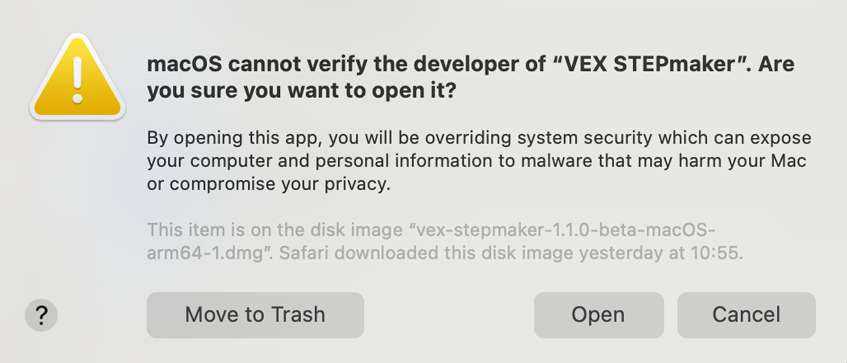
⑥ You’re now ready to work in VEX STEPmaker.